Vincent Hu - Jan 21 2025
How to Perform an All Key Lost Procedure for Toyota 8A with M822 Adapter: A Step-by-Step Guide

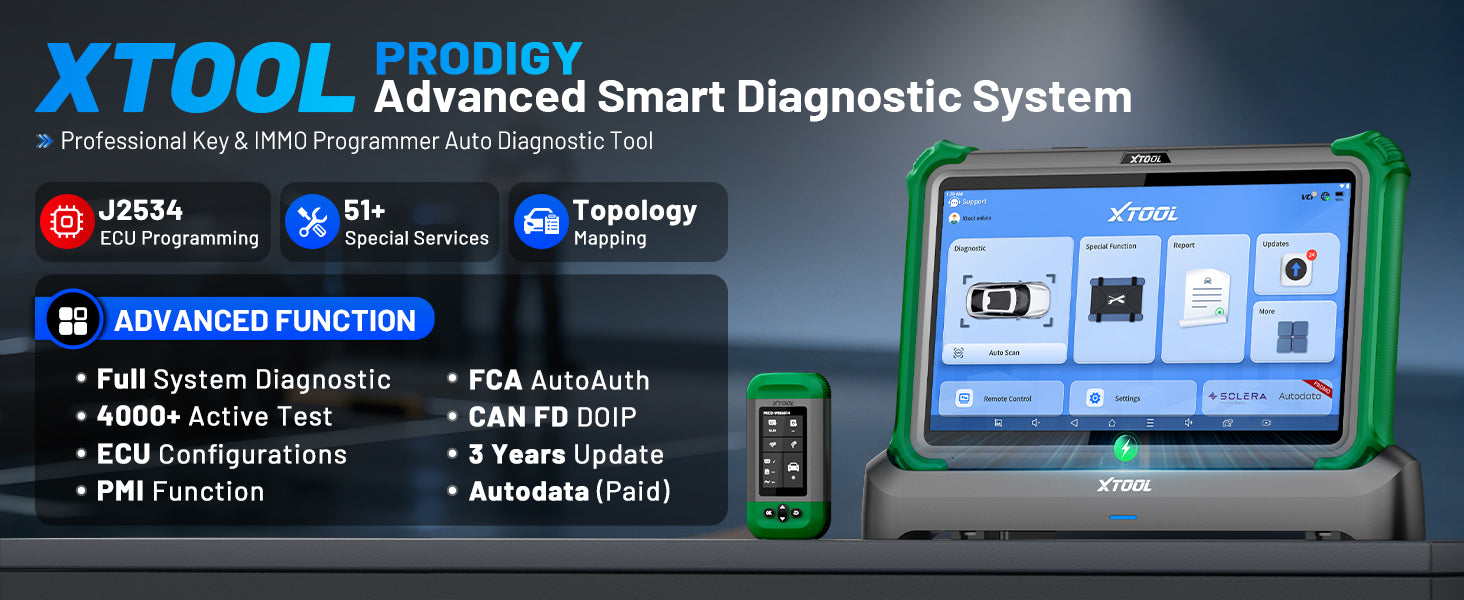
XIf you need to handle an all key lost situation for Toyota 8A vehicles, using the XTOOL M822 Adapter in combination with the Toyota software (V26.90 or higher) can simplify the process. This guide will walk you through the steps for performing this key programming procedure effectively. We will demonstrate the process with our best key programming products X100 MAX. Why X100 MAX is the best key programming product please refer to this article.
Table Of Content
- Step 1: Open the Toyota Software
- Step 2: Read Immobilizer Data
- Step 3: Extract Immobilizer Data
- Step 4: Save the Data
- Step 5: Disconnect the M822 Adapter
- Step 6: Prepare for Key Generation
- Step 7: Select the Key Position
- Step 8: Connect the KC100/KC501 and Insert KS-1
- Step 9: Check the Emulated Key
- Step 10: Begin OBD Programming
- Step 11: Add a New Key
- Step 12: Program the New Key
- Step 13: Verify Key Registration
- Step 14: Final Check
3 cs of using your blog to sell
Content. Provide useful, educational and entertaining content. Present information based on your product offering and customers’ problems or needs.
Context. While your end goal is to sell, consider the context of your blog posts. Here, you’re a tour guide through your firm’s extended offering – not an auctioneer. Your job is to show readers how to use your firm’s products.
Commerce. Once you’ve given your readers useful information in a meaningful setting, they may be interested in actually plunking down their credit card. Unfortunately, here’s where many business blogs stop. Blog editors, familiar with their company’s e-commerce site and how to find specific products, can assume readers innately know how to find the product or have the motivation to track it down. Don’t get me wrong. Some very small percentage of prospects will to go extreme efforts to find the product. Unfortunately, the rest will just leave or worse go to your competitor.
Step 1: Open the Toyota Software
First, launch the Toyota software (ensure you are using version V26.90 or higher). Navigate through the following menus:
- By Type → All Blade Key Lost (8A)
Once you select this option, the next screen will appear with instructions for the following steps.

Step 2: Read Immobilizer Data
Once you're in the correct menu, click on “Read Immobilizer Data.” The system will prompt you to connect to the vehicle network. Follow the instructions in the software to connect to the car. It’s important to check the Wiring Diagram in the software for a detailed connection method.

Step 3: Extract Immobilizer Data
Once the connection to the car is established, click "OK." The tool will now begin extracting data from the immobilizer system. This process will take about 3 minutes, so please be patient.

Step 4: Save the Data
After the data is successfully extracted, the software will prompt you to name the data file. Save this file in the Adapter/Toyota folder on your computer or device.

Step 5: Disconnect the M822 Adapter
Once the data has been saved, disconnect the M822 Adapter and restore the vehicle to its original state.


Step 7: Select the Key Position
Select the key position for the new key. Keep in mind that each position has an ID, but only some will correspond to a registered key. Typically, Key Position 1 or 2 should contain a registered key, unless a key has been erased previously.

Step 8: Connect the KC100/KC501 and Insert KS-1
Now, connect the KC100 or KC501 to the device, and insert the KS-1 adapter into the slot. This will generate the emulated sub-master key for your vehicle.

Step 9: Check the Emulated Key
Once the emulated key is generated, check if the key can be used to start the car. To test, take the chip from the unprogrammed key, place the KS-1 near the ignition switch, insert the key, and see if the car starts. The immobilizer indicator should also turn off if the key works.If the emulated key does not work, repeat Steps 6-8, but try a different key position.
Step 10: Begin OBD Programming
If the emulated key works, proceed to the “OBD Programming Function.” The rest of the process will follow as if you are adding a new key. Before proceeding, we recommend checking how many keys are already registered in the system.
Note: The KS-1 emulated key will not show up as a registered key, so it won’t be counted in the total key numbers.

Step 11: Add a New Key
Click “Add a Key” on the screen and follow the instructions. Place the KS-1 near the ignition switch, insert the new key (without a chip), and turn the ignition on.


Step 12: Program the New Key
Once the immobilizer indicator light comes on, turn the ignition off, remove the new key, and insert the chip into the key. Place the key back in the ignition switch, but do not turn it on.The immobilizer indicator should start flashing. Wait for about 1 minute, and the indicator should go off, signaling that the key has been successfully programmed.

Step 13: Verify Key Registration
After the process is complete, check the number of registered keys in the system. Compare this number to the one from Step 10 to ensure the new key has been added successfully.

Step 14: Final Check
Finally, verify that the key functions properly in the vehicle. If any issues arise, repeat the process from Step 11 onwards.

Conclusion
Performing an all key lost procedure for a Toyota 8A vehicle with the M822 Adapter is straightforward, provided you follow the steps carefully. The XTOOL M822, combined with the Toyota software, offers a robust and reliable solution for key programming, even in situations where all keys have been lost. By following this guide, you can successfully program new keys and restore access to your vehicle.
For more tutorials and tips on automotive diagnostics and key programming, stay tuned to our blog!